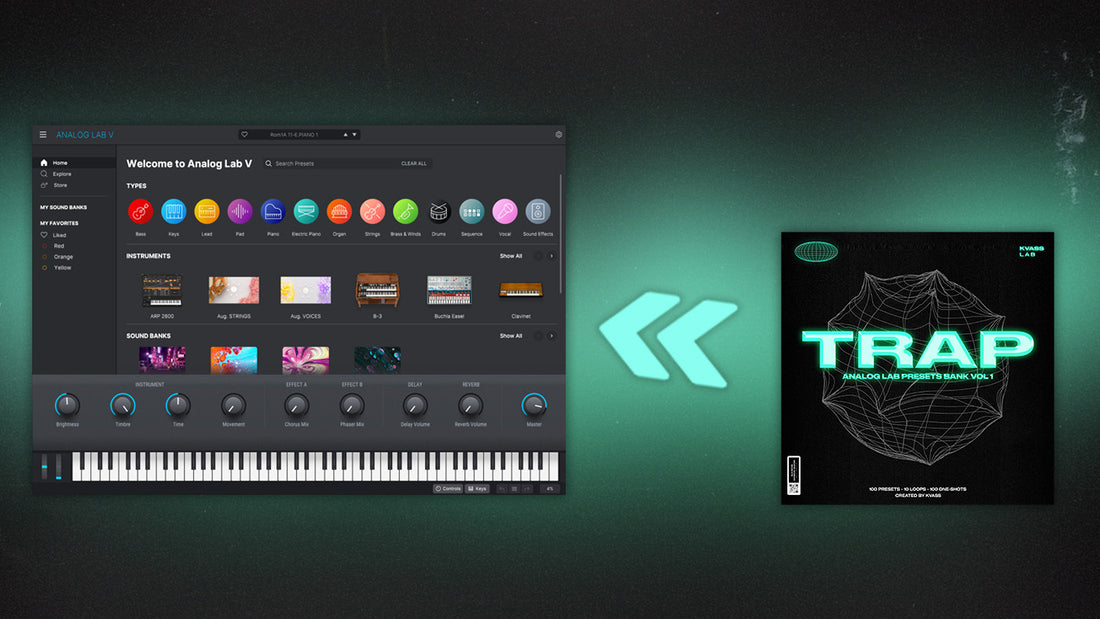
How To Import Presets Bank Into Analog Lab V
Share
Importing presets to Analog Lab V is a simple process that allows you to add new sounds and instruments to your library. This guide will walk you through the process of installing Analog Lab V bank step by step so you can start using your new presets right away.
Step 1: Extract the .labx file
The first step in importing presets to Analog Lab V is to extract the .labx file. This file is typically in a compressed format such as .zip or .rar and must be extracted in order to be used. To extract the file, simply right-click on it and select "Extract" or "Unzip." If you do not have a program capable of extracting these files, you can download one for free online such as 7-Zip.
Step 2: Open Analog Lab V and click on the Analog Lab drop down menu
Once the .labx file has been extracted, open Analog Lab V. You should see the Analog Lab drop down menu in the left upper corner of the interface.

Step 3: Click on "Import..."
Next, click on the "Import..." option from the drop down menu. This will bring up a file browser window where you can navigate to the folder you extracted the .labx file to.

Step 4: Select the .labx file
In the file browser window, navigate to the folder where the .labx file was extracted, select it, and click "Open."
Step 5: Import the presets
Analog Lab V will now import the presets. Once the import process is complete, you should see a message saying "Import successful." The new presets should now be visible in your Banks section.
If you are a FL Studio user and the presets are not showing up after importing, try running FL Studio as an administrator and repeating the steps above. This should resolve any issues you may be experiencing.

