How to Import Presets to Serum 2 (Step by Step Guide)
If you just downloaded a new preset bank for Serum 2 and don’t know how to get it inside the synth – don’t worry, it’s actually super easy. I remember first time I had no clue where to even click, but after doing it once you’ll see it’s nothing complicated.
Method 1: Drag & Drop
Easiest way – just open Serum 2, go to the preset browser (that little menu at the top where you see the preset names), and simply drag the .serumpreset files into Serum. That’s it. Serum will load them instantly and you can start playing around.

Method 2: Put Presets Into the Right Folder
Another way is moving the presets directly to the Serum preset folder. On Windows it’s usually something like:
Documents>Xfer>Serum 2 Presets>Presets
On Mac it’s pretty much the same path inside your Documents.
Method 3: Import From Serum
Inside Serum 2 you can also click on the Menu button (top-right), and there’s an option to “Open Serum 2 Presets Folder”, click that and it will open the correct location on your computer. From here, just copy the new presets into the right folder. Then restart Serum if you already had it open.

Method 4: Import Preset Pack
If you have presets in the Preset Pack format, there’s an option inside Serum 2 to import them. Simply click on the Menu button (top-right), choose “Import Preset Pack,” and select the file you want to import.

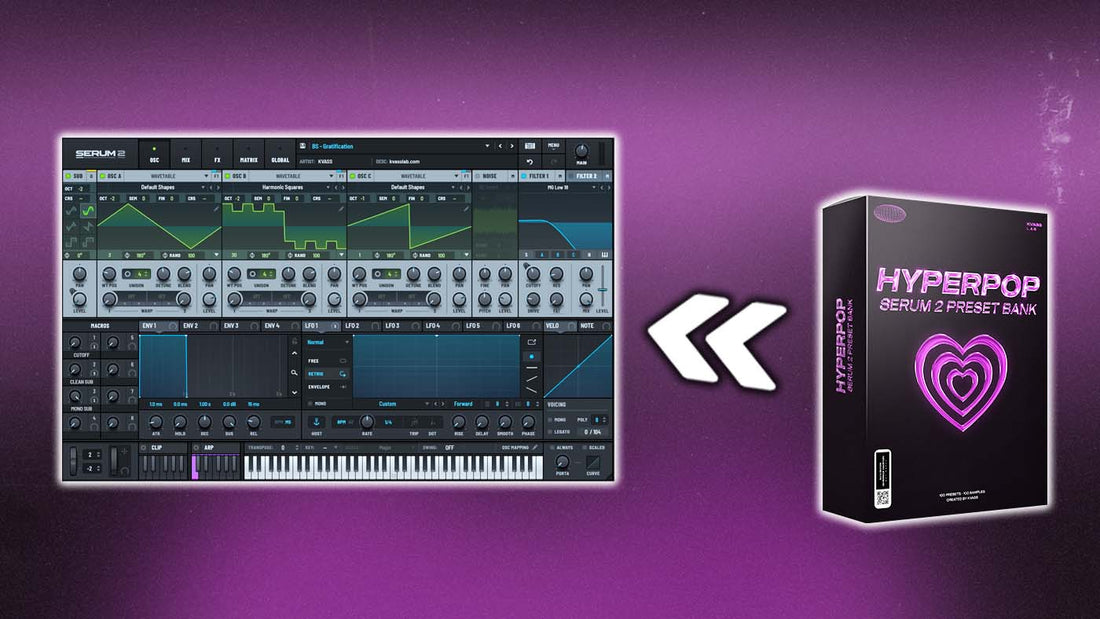
💡 Looking for fresh Serum 2 presets? Check out my Soundbanks
